Buying & owning
How to Find the Model and Serial Number on a Built-In Appliance
The data plate is never on the front. Where it hides on built-in refrigeration, ovens, cooktops, dishwashers and hoods, and why the serial decides the part.
Anyone can do this
No tools, no disassembly, and nothing that can void a warranty.
Covers these symptoms
- where is the model number on my refrigerator
- cannot find the serial number
- the data plate is unreadable
- what do they need to order a part
- the sticker inside is faded
What you need
- A phone with a camera and a flash
- A small flashlight
- A microfiber cloth
- A mirror or your phone in selfie mode for awkward angles
Every parts order, every warranty lookup and every honest phone estimate starts in the same place: the metal or foil tag inside your appliance. On a freestanding appliance it is usually easy to find. On a built-in it is deliberately hidden, because the whole design intent of a built-in is that nothing utilitarian is visible when the door is shut.
That is why the single most common dead end in this trade is a homeowner who wants help and cannot tell anyone what they own.
Why the serial decides the part, not just the model
The model number tells you what the appliance is. The serial number tells you what it actually contains.
Manufacturers make running changes — a revised control board, a different fill valve, a redesigned hinge, a new gasket profile — in the middle of a production run without renaming the model. The change is recorded against a serial break. From that serial onward, the appliance takes the new part; before it, the old one.
This bites hardest on three categories:
- Control and power boards. On several luxury refrigeration platforms the board is specific to a serial range, and the wrong revision gives you an appliance that powers up and then behaves strangely rather than one that obviously fails.
- Door gaskets. Gasket profiles are platform and generation specific. A gasket that looks right and is a quarter inch off in the dart profile will not seal, and you will spend a year chasing condensation.
- Sealed system components and refrigerant. The plate states the refrigerant type and the factory charge weight. That is what a technician charges the system to, and federal rules on refrigerant handling apply either way.
The serial also dates the unit, which is what a manufacturer’s warranty desk asks for before it will tell you whether anything is covered.
Where the plate hides, by appliance type
Built-in and integrated refrigeration
Open the door and look inside, not outside. In order of likelihood: the upper left interior side wall near the ceiling; the ceiling of the fresh food compartment itself; behind the flip-up top grille; on the interior frame beside or above the top drawer. On Sub-Zero Designer tall, Designer drawer and 700 Series units, the plate is inside the cabinet to the left of the upper drawer.
On column installations the plate can also be on the interior face of the case near a hinge, which means you need to open the door fully and look at the frame edge rather than the liner.
Undercounter refrigeration, wine storage and ice machines
Check the interior side wall near the top, the back of the door panel, and the frame behind the toe grille. Undercounter ice machines very often carry the plate low on the front frame behind the removable grille, because the top and sides are inaccessible once installed.
Wall ovens
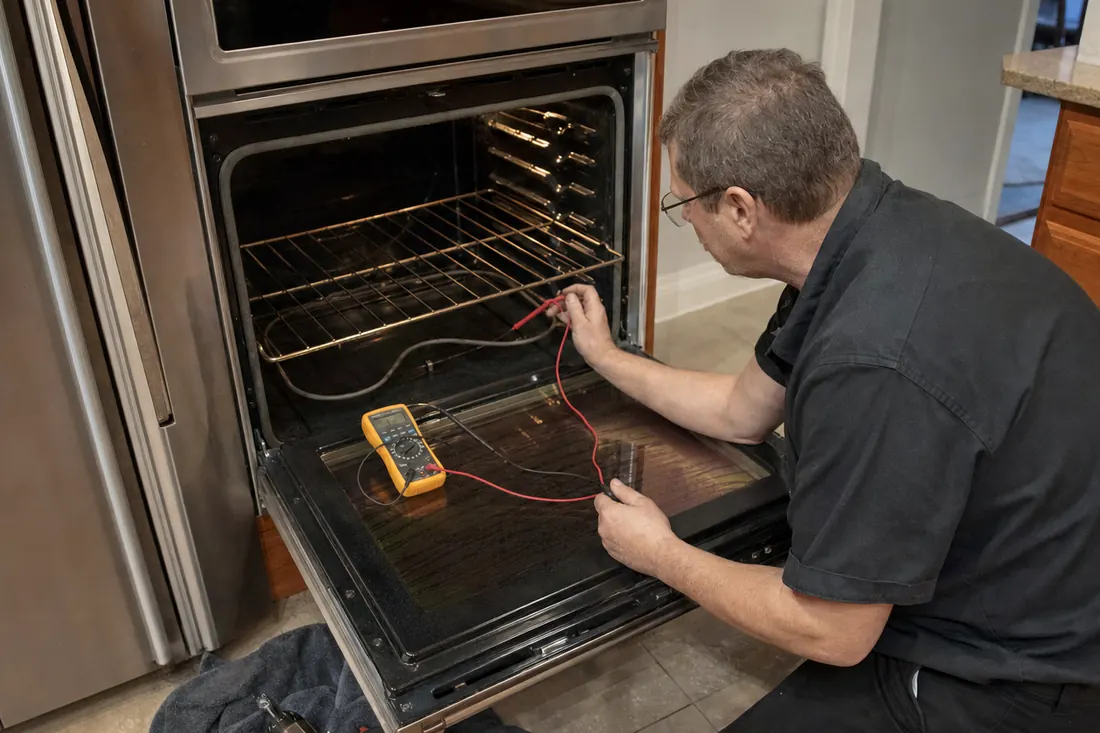
Open the door and read the frame, not the door. The plate is normally on the left or right vertical jamb of the oven opening, sometimes on the horizontal frame under the control panel, occasionally behind the lower trim. On a double wall oven, the plate covering both cavities is usually on the upper oven frame.
Ranges and rangetops
Three usual spots: behind the storage or warming drawer at the very bottom, on the oven door frame like a wall oven, or under the cooktop surface after the surface is lifted or a burner assembly is removed. On professional ranges the plate is frequently on the rear frame or under the control panel edge.
Cooktops
The plate is on the underside of the chassis, which means you read it from inside the cabinet below — open the base cabinet, look up, and use your phone camera on selfie mode if you cannot get your head in. Do not drop the cooktop out of the counter to read a label.
Dishwashers
Open the door and look at the tub rim — the stainless or plastic lip that runs down the left and right sides of the opening — or at the edge of the inner door panel. It is almost always at eye level, and almost always missed because people look at the front of the door.
Range hoods
Remove the baffles or mesh filters and look up into the canopy. The plate is usually on the interior of the canopy or on the blower housing itself. Take the filters out properly rather than reading around them; grease films make plates unreadable in photographs.
Washers and dryers
Inside the door rim, behind the lower toe panel, on the rear panel, or under the lid on top-loaders. Panel-ready and stacked laundry in a closet is the one case where the plate may genuinely require the machine to come forward.
Built-in coffee systems
Open the door and check the side wall of the brew unit compartment, or the frame behind the water tank. These plates are small and often printed rather than etched, so photograph before you wipe.
Outdoor kitchen appliances
Under the control panel, on the inside face of an access door, or on the chassis behind the drop-in flange. Expect corrosion in the coastal ZIPs.
How to record it so it is actually usable
Photograph, do not transcribe. Handwritten model numbers arrive with an O in place of a zero, an S in place of a 5, or a missing suffix, and every one of those errors costs a day.
Capture the suffix. Letters and slashes after the base model encode hinge side, finish, panel-ready versus stainless, gas type and voltage. A model stripped of its suffix describes a family, not an appliance.
Take two shots — one wide enough to show the whole plate and the layout, one close enough to read the smallest line. Plate photographs taken at an angle with flash are frequently unreadable in the one field you need.
Store them where you will find them again. An album on your phone called “House” is enough. Owners who do this get accurate phone guidance; owners who do not get “we will have to see it first.”
When the plate is destroyed
Two local causes account for most of it.
Salt air. In Ponte Vedra Beach, Jacksonville Beach, Neptune Beach, Atlantic Beach and St. Augustine, marine air lifts adhesive labels and pits printed foil plates. Outdoor kitchens and garage refrigeration go first.
Steam and heat. Dishwasher tub-rim plates and steam oven plates fade from the top line down, and it is usually the serial that goes first because it is printed smaller.
When that happens, work backwards through paperwork: the use and care manual, the original dealer invoice, the builder’s appliance schedule, the home inspection report from your purchase, and any product registration you completed. In the 1920s and 1930s kitchens of Riverside, Avondale, Old Ortega, San Marco and Old Mandarin, where built-ins were retrofitted into rooms never designed for them, the remodel contractor’s file is often the only record left.
If nothing survives, a technician can usually identify the platform from the chassis, the compressor tag, the control layout and the door hardware — but that is an on-site identification, not something anyone can do over the phone.
We are an independent appliance repair company in Fruit Cove serving St. Johns, Duval and Clay counties. Send us a clear photo of the plate when you call +1 (904) 977-8701 and the conversation gets considerably shorter.
Step by step
- 01
Open the door and look at the frame first
On the large majority of built-in appliances the data plate is on a surface you can only see with the door open — the inner door jamb, the tub rim, the cabinet side wall, or the frame behind the door. Look there before you start pulling anything out.
- 02
Photograph the whole plate, not just the number you think you need
Take one wide shot of the entire plate and one close shot. The plate carries the model, the serial, the electrical rating, the refrigerant type and charge weight, and often a production or revision code. A parts desk may ask for any of them.
- 03
Copy it exactly as printed, including suffixes and dashes
Trailing letters are not decoration. They encode hinge side, panel-ready versus stainless, gas type, voltage and market. A model without its suffix is a family of appliances, not one appliance, and it will get you the wrong door gasket or the wrong control board.
- 04
Record the serial separately and keep it
The serial is what dates the unit, what determines which running change your appliance was built with, and what a warranty desk will ask for first. Save both photos somewhere that is not the phone in your pocket.
- 05
If the plate is gone or unreadable, work backwards from paperwork
Check the use and care manual, the original dealer invoice, the builder's appliance schedule, the home inspection report, and any manufacturer product registration you completed. Salt air and years of steam destroy printed plates, and a legible invoice is worth more than a guessed model.
Do not pull a heavy built-in out of its opening just to read a plate. Pulling a column refrigerator or a wall oven is a two-person job with real risk to stone floors, custom panels and the appliance itself.
Price bands
What does it cost if this one needs a technician?
Four of the jobs we are called out for most across these appliances. The whole table, and what replacing costs instead, is on the pricing page.
Completed repairParts and labour
| Repair | Typical range |
|---|---|
| Diagnostic visit | $80 |
| Door gasket or seal replacement | $230–$600 |
| Evaporator or condenser fan motor | $250–$610 |
| Defrost heater, thermostat or sensor | $240–$590 |
| Ice maker, water valve or supply line | $240–$630 |
Questions this raises
Why does the serial number matter if you already have the model?
Because manufacturers make running changes mid-production without changing the model number. Control boards, valves, hinges and even door gaskets are frequently split by serial break, so two appliances with the same model on the plate can take different parts. The serial is what resolves which one yours is.
Where is the data plate on a built-in refrigerator?
Almost always inside the cabinet rather than on the exterior. Common locations are the upper left interior side wall, the ceiling of the fresh food compartment, behind the top grille, or on the interior frame beside a drawer. On Sub-Zero Designer tall, Designer drawer and 700 Series units it sits inside the cabinet to the left of the upper drawer.
I found a number on the front of the appliance. Is that the model?
Usually not. What is printed, badged or embossed on the front is normally the marketing series name, not the service model. The service model lives on the data plate and often looks nothing like the name on the door. Always work from the plate.
The plate on my outdoor refrigerator has corroded away. What now?
This is common in the beaches ZIP codes — 32250, 32266, 32233, 32082 and 32084 — where marine air attacks printed and adhesive labels within a few years. Check the original invoice or the builder's appliance schedule first. If nothing survives, a technician can often identify the platform from the chassis, the compressor tag and the control layout.
What should I have ready before I call for service?
Full model with suffix, full serial, a photo of the data plate, the approximate age or install date, what the appliance is doing wrong in plain words, and whether anything changed recently such as a storm, a power outage or a remodel. That turns a guessing phone call into a booked appointment with the right part on the van.
If you would rather not